
Hard Water Stains on Shower Tile and Grout: How to Remove Them for Good (2026 DFW Guide)

If you live in Dallas–Fort Worth, you have probably seen a white, cloudy, or yellowish film show up on your shower tile, glass, and grout lines. It is not always dirt. In many cases, it is mineral buildup from hard water accumulating over time.
Across much of North Texas, water hardness typically falls between 7 and 16 grains per gallon, which is considered hard to very hard. Every time water evaporates, it leaves behind calcium, magnesium, and other minerals on the surface. Because grout is porous, it can absorb part of that residue and lose its clean, crisp appearance.
The good news is that many of these stains can be removed with the right method. The key is to identify the problem correctly, protect the material, and know when DIY cleaning is no longer enough.
Why hard water affects North Texas showers so much
Hard water does not just leave marks on faucets and glass shower doors. It can also:
- Create a chalky white or gray film on tile.
- Darken and discolor grout lines.
- Trap soap residue and body oils.
- Make surfaces feel rough to the touch.
- Reduce the effectiveness of sealers as they wear down.
- Allow moisture to penetrate more easily into unprotected grout.
Glazed ceramic and porcelain tile usually hold up well against this kind of buildup. Cement-based grout, however, acts like a rigid sponge: it absorbs liquids and contaminants when it is not cleaned and sealed properly.
To better understand your protection options, read our guide to the best grout sealer for floors.
How to tell the difference between scale, soap scum, and mold
These three issues can look similar, but they require different solutions.
1. Scale or hard water deposits
It usually appears as:
- White, gray, or slightly yellow stains.
- A rough or powdery texture.
- Buildup that is especially visible around fixtures, corners, and glass.
- A film that may look lighter temporarily when wet.
Scale usually responds to gentle descaling products and methodical cleaning.
2. Soap scum
Soap scum leaves behind a creamier, duller, or greasy-looking film. It can build up on shower walls, glass doors, and around the tub. In some cases, soap residue combines with hard water minerals and creates a stubborn layer.
In this situation, a neutral tile cleaner and gentle mechanical agitation are usually more appropriate than a strong acid.
3. Mold or mildew
Mold may show up as black, green, or brown spotting with an irregular pattern. It may also come with a persistent musty odor and return quickly after cleaning.
Not every dark stain is mold. Grout may simply be stained or retaining moisture. If you suspect contamination behind the tile, inside the walls, or under the floor, stop cleaning and have it assessed by a specialist — see the mold-remediation note at the end of this guide.
Before you start: safe materials and tools
For controlled DIY tile and grout cleaning, gather:
- A squeegee.
- Soft microfiber cloths.
- Protective gloves and good ventilation.
- A nylon grout brush.
- Baking soda.
- A pH-neutral cleaner for tile and stone.
- Warm water.
- White vinegar mixed 50/50 with water, only for glazed ceramic or glazed porcelain.
- A small container for mixing a baking soda paste.
- Soft towels for drying.
Never use metal brushes. They can scratch the glaze, damage grout, and leave behind metal particles that may later create rust stains.
How to clean hard water stains step by step
This method works best on glazed ceramic and porcelain. Always test in an inconspicuous area first.
Step 1: Identify the material
Before applying any product, confirm whether the shower contains ceramic, porcelain, glass, or natural stone.
Never use vinegar or acidic cleaners on marble, travertine, limestone, or other natural stone. Acid can etch or “burn” the surface, leaving permanent dull marks. On natural stone, use only a pH-neutral cleaner approved for stone.
Step 2: Rinse and soften the buildup
Dampen the surface with warm water. This helps soften soap scum and allows the cleaner to work more evenly.
Do not oversaturate grout if it is already cracked or crumbling.
Step 3: Treat glazed tile
For moderate staining on glazed ceramic or glazed porcelain, you can apply a 50/50 solution of white vinegar and water to a small area. Let it sit for only a few minutes and do not allow it to dry on the surface.
Then:
- Scrub gently with a non-abrasive sponge.
- Rinse thoroughly with clean water.
- Dry with microfiber.
Vinegar can help with mineral deposits, but it should not become your routine cleaner. Repeated use of acids can weaken cement grout and break down some sealers.
Step 4: Clean the grout lines
Mix baking soda with a small amount of water to create a paste. Apply it to the grout and work in small sections with a nylon brush.
Use controlled movements without excessive pressure. Then remove all residue with clean water and dry the surface thoroughly.
If you want more guidance on how to clean grout lines, you can read our guide on how to clean grout lines without damaging your tile.
Step 5: Finish with a pH-neutral cleaner
Once the main buildup has been removed, use a pH-neutral cleaner to lift any remaining residue. This type of product helps protect grout and sealers during regular maintenance.
Rinse and dry completely. Grout should be clean and dry before any protective product is applied.

Stop before you scrub: products that can cause damage
The urge to remove a stain fast can lead to expensive repairs. Avoid:
- Vinegar or acids on marble, travertine, and limestone.
- Muriatic acid or other strong acids on grout.
- Metal brushes or abrasive pads.
- Mixing bleach with vinegar, ammonia, or other cleaners.
- Applying sealer over dirty, wet, or crumbling grout.
- Covering a joint with new caulk without removing the damaged old caulk first.
- Using excessive pressure on loose or cracked tile.
Strong acids can destroy the cement matrix in grout. If a joint becomes sandy, breaks apart, or falls out when touched, it does not just need cleaning anymore; it needs repair.
When professional cleaning is the best solution
DIY cleaning can work for light, recent buildup. However, consider professional restoration if:
- The stain returns quickly.
- The grout still looks dark after cleaning.
- Thick buildup covers multiple walls.
- There are cracked, missing, or loose joints.
- The tile looks dull or has hardened residue.
- The shower has gone many years without deep cleaning or sealing.
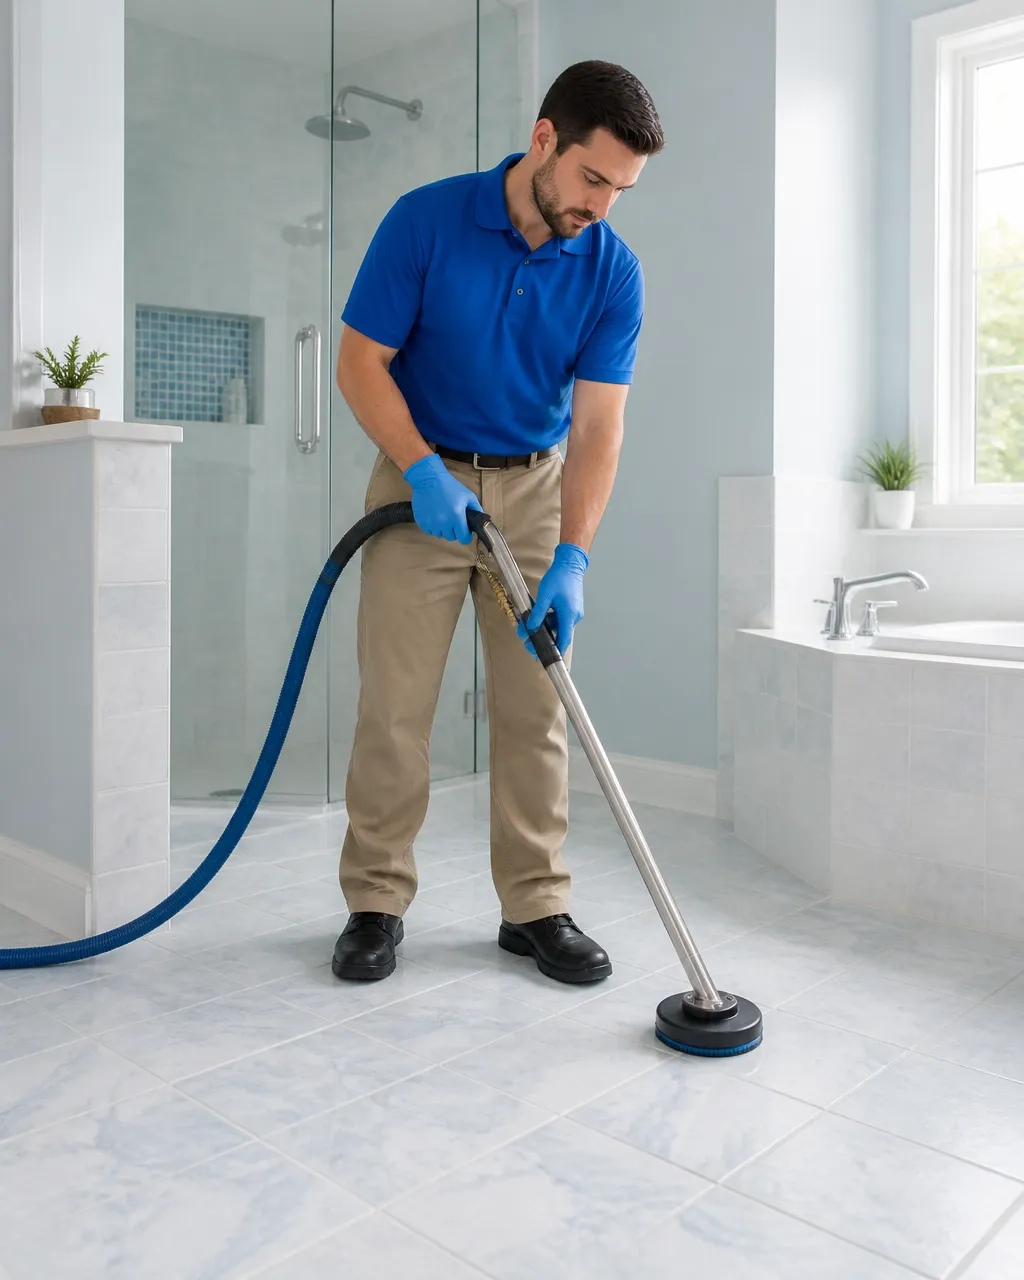
At The Grout Hero, we use specialized tile and grout cleaning techniques, including material-appropriate descaling agents, hot water extraction, and professional steam applications where the surface allows it.
Our goal is not just to make your shower look clean for a day. We aim to revitalize grout lines, correct damage, and preserve the result through a complete bathroom tile restoration process.
When grout is permanently discolored, cleaning can be paired with recoloring. If there is physical deterioration, our grout repair services can restore failing joints with high-quality materials. If surrounding sealants are cracked or failing, we can also recommend shower caulking replacement as part of the restoration plan.
“The result looks clean, even, and professional—it feels like a completely new shower.”
— Common feedback from customers after a shower restoration
Prevention: how to reduce hard water stains
Daily prevention is easier than a full restoration.
After each shower:
- Run a squeegee over the walls, glass, and horizontal surfaces.
- Dry areas where water collects with a soft towel.
- Keep the exhaust fan running during the shower and for several minutes afterward.
- Leave the door or curtain partially open to improve ventilation.
- Use a pH-neutral cleaner weekly.
Clean cement grout in good condition should be sealed with a penetrating sealer about every 12 to 18 months, or sooner if water no longer beads on the joint.
Common sealer options include:
- Clear penetrating sealer: protects without significantly changing the color.
- Professional high-performance sealer: offers stronger resistance in high-use areas.
- Color sealer or grout recoloring: helps even out permanently stained joints while adding protection.
If you are comparing products, the best grout sealer for floors is not always the same choice for wet shower environments, so material compatibility and proper application matter.
Remember: a sealer does not repair cracks or turn grout into a fully waterproof barrier. Repairs must happen before sealing.
Cost and value comparison
| Option | Best for | Main benefit |
|---|---|---|
| DIY cleaning | Light and recent stains | Lower upfront cost and immediate maintenance |
| Professional cleaning | Built-up scale and dull grout | Deeper cleaning, better extraction, and a more uniform finish |
| Grout repair services | Cracked, loose, or missing joints | Restores the integrity of the surface |
| Full restoration | A shower with damaged grout, sealer, or caulk | Stunning visual improvement and longer-term protection |
The cheapest option is not always the best value. Repeated scrubbing with the wrong products can wear down the surface and increase eventual repair costs.
Frequently asked questions about hard water stains
Can I use vinegar on any tile?
No. Use diluted vinegar only, and carefully, on glazed ceramic or glazed porcelain. Never use it on marble, travertine, limestone, or other natural stone.
What is the best cleaner for grout?
For routine care, choose a pH-neutral cleaner. For stubborn mineral deposits, a professional can select a descaling product that is compatible with the material. If you are researching how to clean grout lines, start with the gentlest effective method rather than the strongest chemical.
Does sealer completely prevent stains?
No. Penetrating sealer reduces absorption and makes maintenance easier, but it does not eliminate the need to dry the shower and remove minerals regularly.
How often should I seal shower grout?
In a DFW shower, a practical rule of thumb is every 12 to 18 months. The exact timing depends on usage, grout porosity, and the local hard water level.
What should I do if there is also damage to the wall or ceiling?
If you notice bubbling paint, swollen drywall, a persistent damp odor, or staining on the ceiling below, there may be a structural moisture issue. Read our guide to spotting early water damage and contact the appropriate specialist. In some cases, homeowners may also need water damage drywall repair performed by a qualified contractor.
For deteriorated joints around the shower, you can also request professional shower caulking replacement.
Mold-Remediation Disclaimer
The Grout Hero does not perform mold remediation. Our services are limited to restoration of tile, grout, caulk, and sealants. If you suspect structural moisture issues, leaks, or mold behind finished surfaces, contact a certified mold remediation or structural repair specialist.
Transform your shower with The Grout Hero
Hard water is part of everyday life in DFW, but a dull, stained, or worn-out shower does not have to be permanent. With the right cleaning, precise repairs, and proper sealing, you can preserve an impeccable appearance and help protect the surface from daily wear.
Request a free estimate with The Grout Hero or call (817) 476-7685 to explore your options for cleaning, repair, sealing, and restoration.
